
How adorable are little girls in ruffles?

I know there are other mamas who don't want to waste money (or time sewing) on a cute holiday dress that will go unworn simply because it's too chilly outside!

The weatherman predicts snow flurries tomorrow in Minnesota - so in anticipation - and with trepidation - I give you the SNUG SHRUG.

It's a cozy little shrug for babies and toddlers. Sizes: 3m, 6m, 12m, 18m and 24m. I made the size 18m for little Lucy.

The pattern is made for knit fabrics so there is no ironing involved! I love when you can wear clothes right out of the dryer!

For a more sophisticated, tailored look, you can use the pattern one size larger than your child with your favorite woven cottons for a holiday cover-up!

It would look adorable with a few little buttons or some fancy trim!
The Snug Shrug Tutorial
Sizes: 3m, 6m, 12m, 18m, 24m
Sizes: 3m, 6m, 12m, 18m, 24m
Materials:
1/4 yard cotton interlock (med. weight knit fabric)
1.5" x 43" of knit ribbing (1x1 rib)
sewing machine
thread
thread
pins
sharp scissors or rotary cutter
iron and ironing board
*you CAN use this pattern for woven fabrics - just use the pattern pieces one size LARGER than your intended recipient.
iron and ironing board
*you CAN use this pattern for woven fabrics - just use the pattern pieces one size LARGER than your intended recipient.
Directions:
1. Print the pattern pieces. Make sure to select "print actual size" or "no scaling". Trim the margins of each page with scissors and tape pages together.
Click here to dowload - Snug Shrug Pattern Pieces
2. Using a rotary cutter or scissors, cut the pattern pieces out of your fabric. Make sure the greatest stretch of the fabric is always width-wise to the body. It should go around the body and NOT stretch vertically or it will look droopy.
3. Sew the side seams and shoulder seams using a 3/8" allowance. Do this for the both sets of bodice back/front pieces. You should have 2 vest/shrug-like pieces. Press the seams open.
3. Sew the side seams and shoulder seams using a 3/8" allowance. Do this for the both sets of bodice back/front pieces. You should have 2 vest/shrug-like pieces. Press the seams open.

4. Find the center of your long ribbing piece. Pin it to the center back on one of the shrugs. I use my thumb as a guide to space the pleats. Pleat the ribbing every 1.25" or so, overlapping only .25". Pin generously.
This is the center back of the shrug.

Notice how the center back pleat looks like an inverted box pleats. This way, the pleats will all face "down" on either side of the shrug.
5. Pleat only until you get to the side seams. Leave a gap in the center back. I widened the gap to about 1.5".

6. Sew the ribbing pieces together with the right sides (the sides touching the white fabric) together. Stretch the ribbing slightly and pin the center back and halfway between the side seam and center back. The shrug fabric will bunch slightly. This is desirable and will make the ribbing "hug" the body.

7. Baste the ribbing to the shrug using a long straight stitch. It should be one continuous (albeit curving) seam line. When you get to the bottom/back portion, stretch the ribbing slightly as you sew.

8. With your ruffle basted shrug right side out - place the 2nd shrug on top, right sides together. Match the side and shoulder seams. Pin well. Your ruffle will be encased within the 2 layers.

9. Sew around the shrug just inside of your basting lines. Clip the seam allowances to reduce bulk and clip curves if necessary (if they don't lay down flat).
10. Turn right side out through one armhole and press the edges well, tugging gently at the ribbing. Topstitch through all layers (from the right side) .25" or closer to the ribbing.

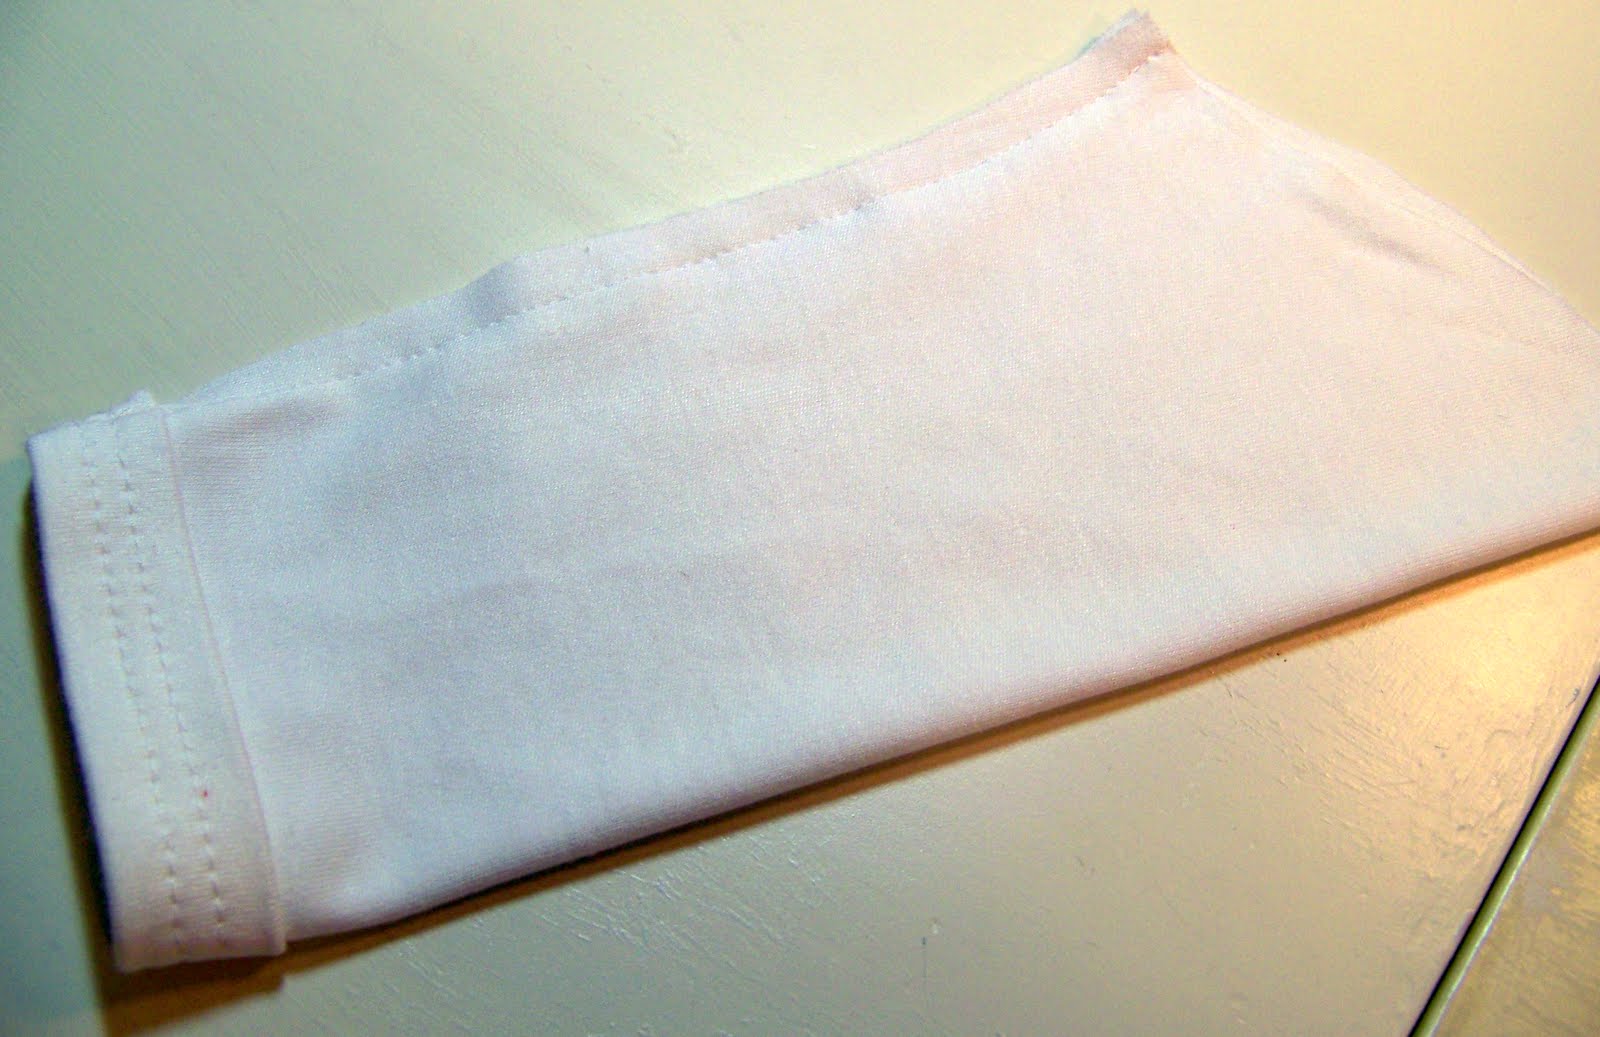
11. The sleeves! Now fold up the hem of the sleeve .5" to the wrong side. Press. Fold again .5" to the wrong side. Press again! I hate pressing but it gets the job done right!

12. Sew 2 lines of stitching to secure the sleeve hem. For small garments it's easier to hem the sleeve before you attach it to the garment. Shucks - it's hard to see my super straight stitching lines! (The other sleeve was a bit wonky.)

Sew down the length of the sleeve, making into a tube. Press the seam allowance to one side and tack it down with a few zig zags at the end of the sleeve.
13. Place shrug right side out and sleeve right side out. Match sleeve seam line at bottom to the shrug side seam and the center top of the sleeve to the shoulder seam on shrug. Pin well.

14. Sew sleeve using 3/8" allowance. With right sides out, press well. Repeat for other sleeve!
Viola! A sweet shrug for your sweet little one!

Note: I went back and zig zagged over my seam allowance at the center back so that it lay flat. Not sure if it was necessary or not, but it bugged me!
The woven cotton version! I think I might add 3 little white buttons on either side. Non-functional, of course - but cute!

It sure looks cozy!
And that's it! How snug is your little bug?
Feel free to share photos of your Snug Shrug in the flickr pool!
This is adorable!! Thank you so much for sharing! I live in Fla but it gets chilly by our standards and this shrug is PERFECT for this time of year!!! Thank you, thank you!
ReplyDeleteThis is darling! I love the different versions you made. Thanks for sharing!
ReplyDeleteCan this pattern be done using a linen fabric? Or cotton/poly blend, non knit material??
ReplyDeletemyvibrantdesigns@gmail.com
Julie
Perfect! I have been searching the net for a pattern for one for my 3yr old daughter. I am just going to cut the pieces bigger but keeping the shape/proportions! I am making her an Easter dress out of a really nice "prom dress" type fabric and want to make her a shrug to wear with it! THANKS
ReplyDeleteThis is exactly what I was looking for. Thank you for a great pattern and tutorial! I will be following your blog because this post brought me to your blog.
ReplyDeleteI found your tutorial earlier today and just finished this shrug. Thanks so much for the pattern. Instead of buying the ribbed knit I just ruffled strips of my amin fabric. It turned out so cute. Thanks!
ReplyDeletethank you for this pattern it is so cute
ReplyDeleteUsed this pattern for a swim shrug (only one layer with an elastic ruffle) so I didn't have to cover my daughter's swimsuit and still protect her shoulders--perfect! Exactly what I was looking for and it turned out so cute :)
ReplyDeletewau..i gotta try this..tq so much
ReplyDeleteGreat job
ReplyDeleteI made a couple of these as Christmas sweaters for my girls four years ago, upcycling an old dark red sweater that I had. They were SO adorable! I pinned this page, knowing I would need to come back to it at some point. Well, tonight I'm up cycling yet another old sweater for my 6 year old's Christmas sweater. I used someone else's pattern that was just a size 6, but I came back to this tutorial for the process, as I liked the lined, no hem bodice. Thank you so much for this tutorial!
ReplyDeleteThank you! I used this to make a shrug to go over my grandaughter's Easter dress.
ReplyDeleteThanks
ReplyDeleteGreat effort in creating this article
ReplyDelete