Keeping on the a la cheap theme - I've just made a new piece of artwork for our nursery. I've been re-organizing the space since it will soon house 2 little girls.
Here's what you'll need to make the Embroidered Nursery Art
We haven't completely decided on a name yet for the baby coming in January but the project was so quick and easy I decided to use the first inital anyways. Any guesses on the name for the the letter "H"?
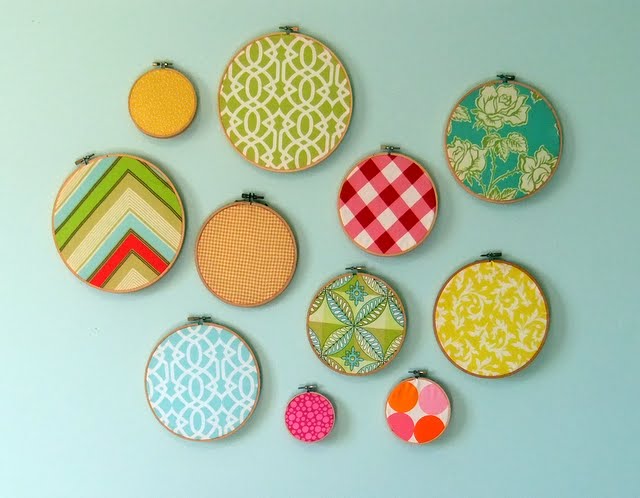
I got these frames last year at a local thrift store and spray painted them yellow. But I couldn't decide what to do with them until now. The frames are pretty small - about 5 x 7.
I used a piece of linen from my scrap pile and found a cool font in Microsoft Word. Print it out and trace the design with some carbon transfer paper underneath. You could also just try to trace the design by holding the linen over the printout in a sunny window.
Embroider the letters with the smallest stitches possible. You can search for a video on how to embroider if you haven't embroidered before. It's actually pretty easy. I used a back stitch. This actually is a great project to do while watching "The Office" or "Parenthood". Two of my favorite shows.
Then, trace 2 ovals the size of the opening on some cardboard and cut them out. I used an Oatmeal Squares cereal box.
Using some leftover embroidery floss or thread - make a running stitch around the design leaving an inch outside of where the cardboard circle will be.
This part can get tricky - now pull the loose ends of the running stitch taut and place some batting or fabric scraps inside to "pouf" the design. Slip one piece of cardboard just inside the running stitch. Tie the running stitch ends closed.
I had to play around with the cardboard and the batting to get the design more or less centered and evenly "poufed". I thought it needed to be stretched a bit more - so I laced it up the back with another set of stitches in a zig zag pattern.
Add some hot glue to the back and lay the second piece of cardboard to cover your stitches in the back.
Then run a small bead of glue along the lip of your picture frame and carefully place your puffy embroidery inside. Don't stop to take a photo or the hot glue will become cold glue!
I hope you at least give embroidery a try! The embroidery floss only costs 29 cents and needles are cheap too!
This would also look great with a silhouette or in a square frame with the entire name embroidered.
Holiday gifts anyone?


